Satak blog

Blog posts from Satak
Docker Basics
by Satak
Introduction
I guess you have heard words like Docker and containers or even Kubernetes, but what are they and where and why would you use them? In this blog post I try to explain the basics and show a step-by-step guide how to setup your own Docker environment and how to build and publish your first Docker container.
What is Docker
Docker is a leading technology platform to run containers, so much that when someone talks about containers, he or she means Docker containers. Docker Inc., the company behind Docker technology, offers two Docker versions: The free Docker Community version, and the commercial version Docker Enterprise. In this post we are using the free version which is the most common way to run Docker containers, even in the professional and production systems and environments. Docker is a Linux native software so the easiest way to run Docker is to run it on Linux systems, but there are perfectly fine solutions to run Docker on Windows and macOS (Docker Desktop).
So what are containers then
Container is a way to run applications in an isolated environment, like a mini virtual machine, that packages up code and all its dependencies. They are much more lightweight and faster to run than traditional Virtual Machines. Smallest containers only takes couple MBs of disk space and use minuscule amount of resources. To be able to run containers you need a container run environment/platform like Docker.
When you start working with containers you will come across a term base image, which is a container image that you use to build your own image. You can of course build your own base images but often it’s not needed since companies and communities takes care of the base images and they are usually up to date. One of the most common lightweight base images is Alpine Linux (https://alpinelinux.org). One of the best parts in containers is the fact that they are made of layers. So you can use a static base image that you download once and all other changes to your own application are made in your own top container layer, so it speeds up the deployment and build a lot, since you don’t have to download the base image after it’s once downloaded.
Docker Hub
Docker offers a free and open repository to store your Docker container images called Docker Hub. First you must register your account to Docker Hub and after that it’s ready to be used for your own Docker container builds. It works so that when you build your containers you can then publish those as an image to the Docker Hub and later pull those images to re-use those or have any published image as a base image for you later builds. There are many container repositories but Docker Hub is the most used one and a good starting point.
Kubernetes and beyond
Kubernetes (https://kubernetes.io) is one of the leading orchestration platforms to run and manage multiple containers in a production environment. Many cloud platforms like AWS, GCP and Azure offers their managed Kubernetes platform. Helm (https://helm.sh) is one of the most popular package manager for Kubernetes and it’s often used with Kubernetes. There are also serverless container platforms where you don’t even see the actual Kubernetes cluster like GCP Cloud Run (https://cloud.google.com/run). Docker Desktop comes with a lightweight Kubernetes platform where you can practice and test deploying containers to Kubernetes.
Setup Docker Desktop
This guide is using Windows 10 as a workstation where we are going to install Docker Desktop so we can run Docker containers on our Windows 10 workstation.
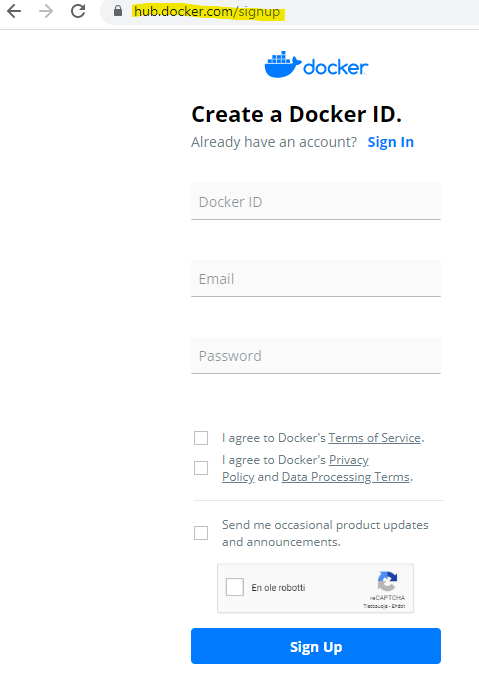
- First go to https://hub.docker.com/signup and register an account there if you don’t have one already. If you have an account login and let’s start downloading the Docker Desktop for Windows.
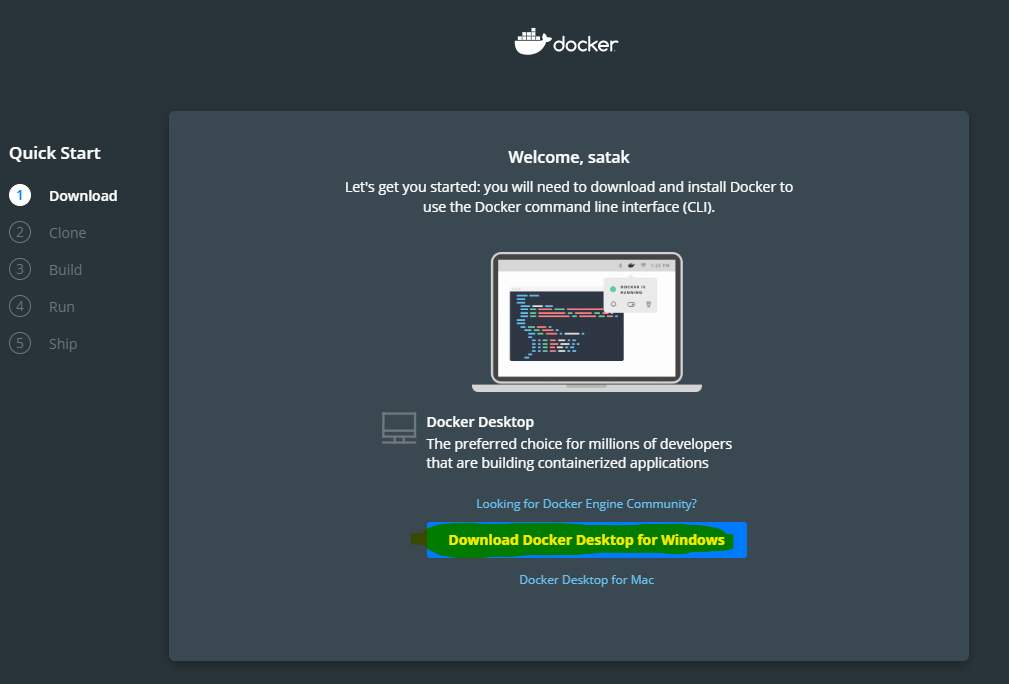
- Once you have downloaded the Docker Desktop installer run it. It will ask you to log out and login again after the installation is ready.
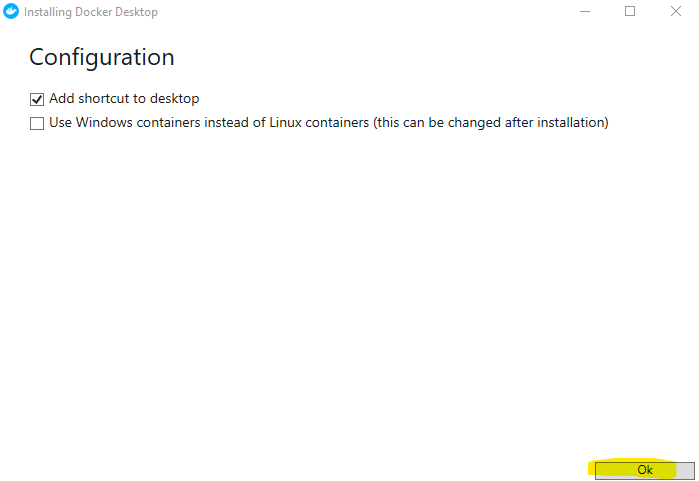
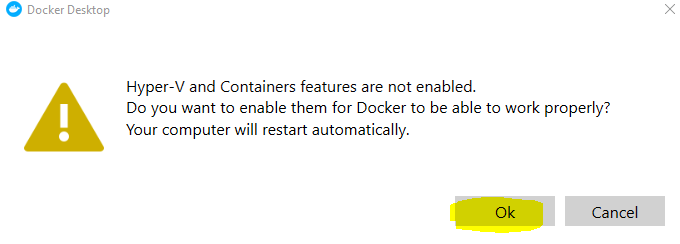
- After the you have logged in again, start
Docker Desktop, it can ask you to enable Hyper-V. Click OK and it should shortly restart your computer.
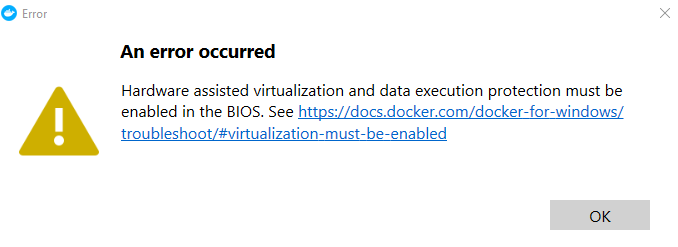
- After reboot, start your Docker Desktop again and wait until it initializes. It might give an error about your hardware virtualization settings not being enabled. This is normal and you just need to enable it from your BIOS
-
To access your BIOS settings you need to restart your computer and press
F2orDelete(or what ever key is set in your computer) keys at startup. When you enter BIOS go to advanced settings, CPU settings and there should be some virtualization settings that you can switch to enabled. Once that’s done save BIOS and exit. Computer restarts to Windows and your Docker Desktop should be fine. -
Now you should see Docker Desktop icon in your systray and you can open any command line tool and test the command
docker version
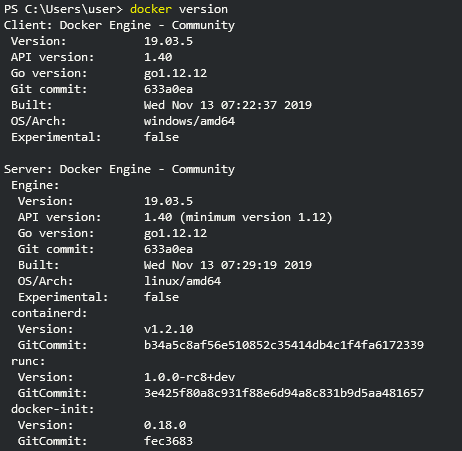
- Congrats you now have a working Docker Desktop environment running in your workstation! Next we look into how to run Docker containers in it.
Running Containers
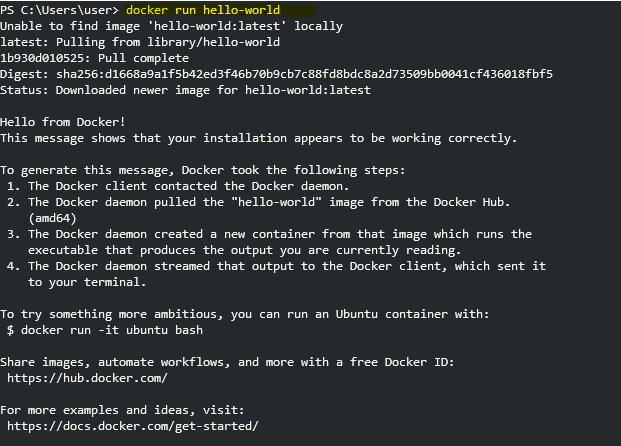
- Open your command line tool, for example Powershell, and run this command to run your first Docker container:
docker run hello-world
-
This command runs
hello-worldcontainer. It first checks if you already have this container at your local machine, if not it downloads it from the Docker Hub and then runs it. The docker itself just echoes out the textHello from Docker!+ bunch of other instructions. And then the docker container is shutdown and it’s not running anymore. -
You can check what containers are running by typing the command:
docker psThe command
psstands forprocess statusand by default it only shows containers that are currently running. To show all containers, also those that have exited add the switch-ato the command like this:docker ps -aand now see your hello-world container and its status (Exited).

- To see what Docker images you have in your local machine type:
docker imagesand you should see the hello world docker image listed. -
If you run
docker run hello-worldagain you see that it runs immediately and doesn’t download anything like at the first time. This is because you already have the image and the docker can just run it. -
Lets now run a nginx web server with this command:
docker run --name mynginx -p 80:80 -d nginx- This command runs nginx web server and assigns the container inner port
80to the host port80in detach mode-dand gives the container a namemynginx. Detach means that it runs in background and doesn’t block your terminal.
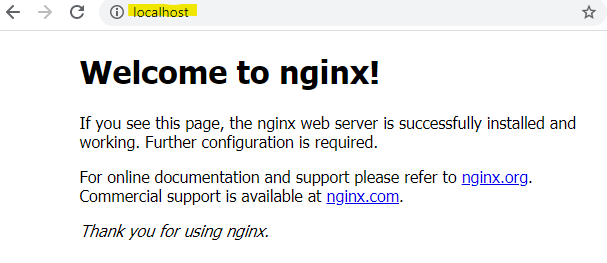
As you can see when you type the command
docker psnow there is a container running, your nginx web server that you can actually access from your browser when you typelocalhostin your url field. - This command runs nginx web server and assigns the container inner port

-
To stop a running container you have two commands:
docker stop <container name or id>(gracefully stop)docker kill <container name or id>(force kill process)
-
To remove docker container use the command:
docker rm <container name or id>
-
To remove docker image use the command (note that you can’t remove image if there are containers in your local machine that are using those):
docker rmi <image name or id>

Building Docker Containers
Now when we know basic Docker commands we can start to build our first docker image and eventually publish it to our Docker Hub.
-
Create a folder where you have your application file and your Dockerfile. In this example we will create a Python application. You can call the app folder for example
my_app. After you have your folder created, create there two files:Dockerfilemain.py
-
Add this content to your
main.pyfile:
#!/usr/bin/env python3

print("Python says hello from Docker container!")
- Add this content to your
Dockerfilefile:
# lines with a hashtag are just comment lines and are not executed

# This first actual line here defines the base image
# here we use the latest official python image where we based our own image
FROM python:latest

# command to copy our local main.py file to the container's root
COPY main.py /

# when the container starts it will run this command
CMD [ "python", "./main.py" ]
-
Use your terminal and go to the
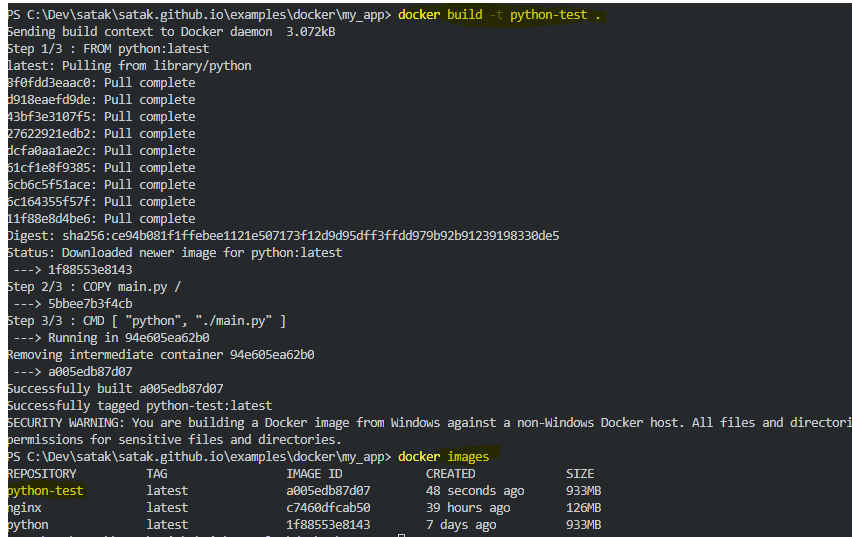
my_appfolder where you have yourDockerfileand yourmain.pyand run this command:docker build -t python-test .
Note that there is an
.dot in the end of the command on purpose. This means is a path to theDockerfileand since we are in the same folder as the Dockerfile our path is just a dot.Command
-t <name:tag>or--tag <name:tag>gives a name to the build and tag can be also added like this:-t python-test:latest
-
To run this container build/image just run this command:
docker run python-test
-
To able to publish this docker image to your Docker Hub repository you need to tag the image properly. For this we use the command
docker tag: -
docker tag <image> <your docker hub name>/<app-name>:<tag> -
For example:
docker tag python-test satak/python-test:latest -
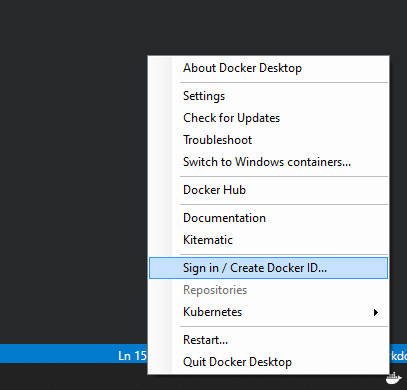
Before we can publish this image we need to login to Docker hub. Go to systray, click your Docker icon and select
Sign in / Create Docker ID...and enter your Docker hub credentials.
- When you have logged in just run
docker push <your docker hub name>/python-test:latestand it will be pushed to your own repository.